- Using the circle stencil (from Cheap Craft shop) and using Distress Inks - Candied Apple, Blueprint sketch, Mermaid lagoon, Twisted citron, I blended the colours through different sizes.
- Stamped the sentiment - Hero Arts Holiday Christmas Message and gold embossed
- Used a gold gel pen to outline the baubles using the stencil also adding gold thread and hanger tops.
- Die cut a frame from white card and backed this with light gold metallic paper
- Trimmed the front panel to fit just inside the frame leaving a small edge of gold showing.
Showing posts with label Stencils. Show all posts
Sunday, 22 August 2021
Merry Christmas
Friday, 6 March 2020
Twofer Birthday Cards
Well today I'm sharing two cards made in the same instance....
I used this fabulous CUTplorations die to create a stencil.... and in the process if you place a white card panel underneath you get two images.
Card 1 is the stencilled result - using my blending brushes and Distress Oxide inks....the smaller brushes are a great help. I attached the panel to a white card and die cut a frame using two stitched dies... then stamped the sentiment on a stitched rectangle and embossed with Leaf green embossing powder. To finish I added a few white Nuvo crystal drops.
The second card is the die cut panel with the blended DO colours and then attached to a white card panel, framed with a green layer onto a light green card. The sentiment was stamped in black and clear embossed and attached with foam tape.
I am playing along with THE STENCIL March challenge at STAMPlorations.... hoping my die cut is ok as the stencil element .... AND .... also with their Never Ending Anything Goes challenge
Thanks for stopping by my blog --- have a Happy Day

Card Recipe
Stamps: Stamps by Chloe - Fancy Foliage -
Dies: CUTplorations - Bloomtangle #1 coverplate die, Poppy Craft - stitched rectangle dies
Inks: Distress Oxides - all sorts of colours
Other: Clear embossing powder, Zing embossing powder - leaf, White Nuvo crystal drops
Tuesday, 5 November 2019
Daily Marker 30 Day Colouring challenge - Day 4
Back today with my finished 'colouring over the sponge stencilwork'
I really loved this technique Kathy shared on Day 1 and it
will be something that I will do in the future....

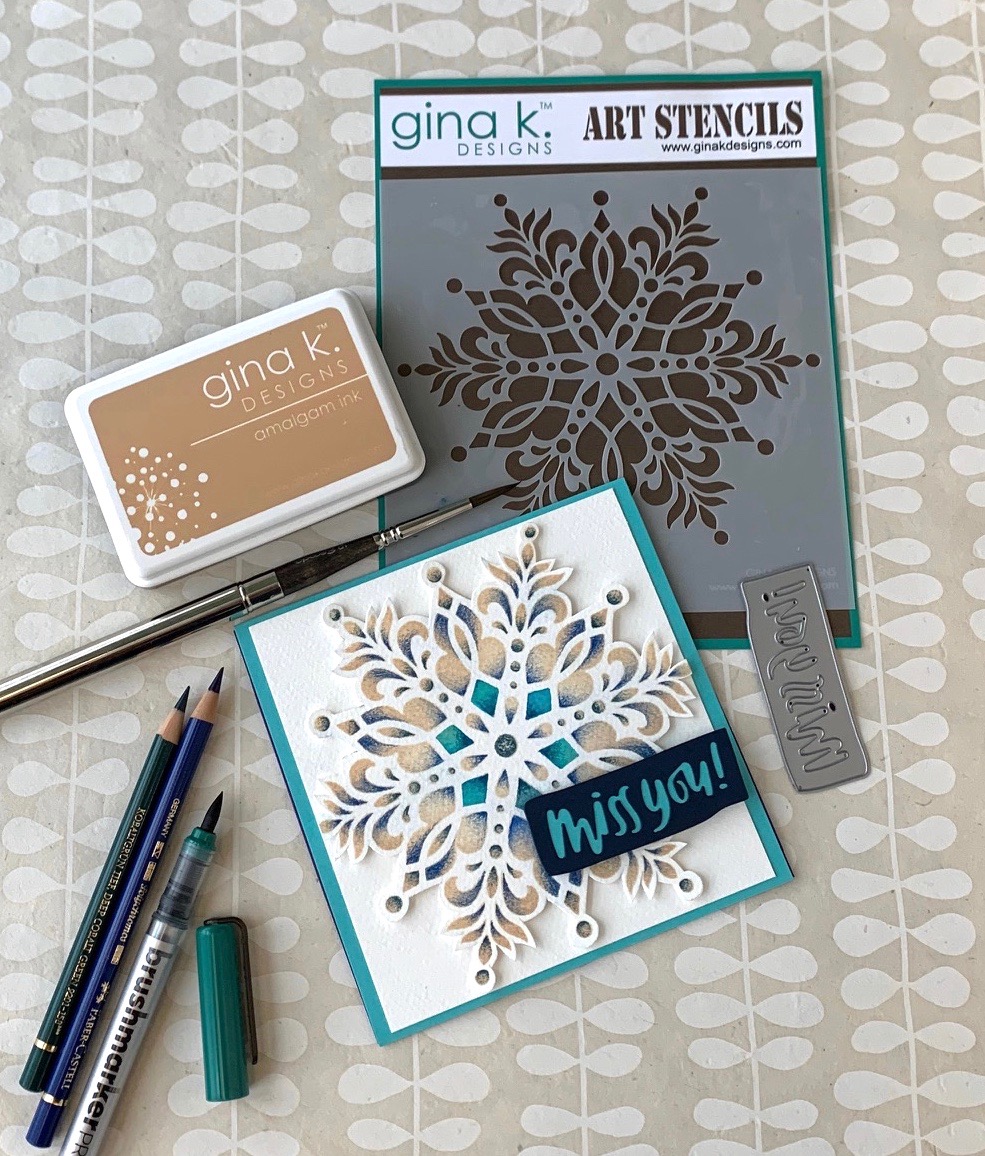
This is my finished panel using colouring pencils over light brown sponged stencilwork
I did attempt to use a sharp pencil to give lines of depth and it looks cool.
I trimmed the panel to fit my white card base and stamped and gold embossed the sentiment on a white card strip and attached it with foam tape.
I am playing along with the Daily Marker 30 Day Colouring challenge - Day 4. .... AND ... Stamplorations November Stencil challenge - Always Anything Goes.
Thanks for visiting, I really appreciate it - happy colouring
Monday, 4 November 2019
Daily Marker Colouring challenge - Day 3
I am posting this to Day 3 at the Daily Marker 30 Day Coloring challenge..
Thanks for visiting, I really appreciate it - happy colouring
Sunday, 27 October 2019
Happy Birthday
We have visitors this week but I have time to post a couple of cards this afternoon..... here a Birthday card using a stencil to create the lattice background..... I inked Versamark over the back of the stencil, brayered it in place on white card then heat embossed with white embossing powder... then sponged Distress Oxides in antique linen, iced spruce and victorian velvet and lightly polished the ink from the white embossing. I used a matching dusty pink card and attached the panel with a fine white edge and then die cut the sentiment twice and layered them to the front. I am playing along with Watercooler Wednesday WWC244 - Helen's "All About Occasions" challenge ... AND ... Stamplorations The Stencil October challenge - Always Anything Goes.
Thanks for visiting, I really appreciate it - happy card making
Friday, 19 April 2019
Love and Best Wishes
Middle of the month already and I'm here with a reminder card for the
I used a small teardrop swirl stencil and white gel medium on white for my background, after the gel swipe, I lifted the stencil, let it dry and then replaced the stencil and spritzed with silvery colour mist - it leaked under the stencil a little but I'm liking it. Then I stamped and silver embossed, watercoloured and fussy cut my sweet pea stem - that took longer than making the whole card and then chose a matching coral card to die cut a stitched frame. I finished the card with a stamped and silver embossed sentiment.
There's lots of fabulous inspiration from the DT girls over on the CAS Stencil blog.... pop over and check it out, visit the girls - they love comments.... and hope to see you join in the fun --- here's a hint - if you don't have paste or gels... you can colour up PVC glue to use through a stencil (here for a tag I made) - just make sure you remember to wash it up before the glue sets.
Friday, 5 April 2019
CAS Stencil April Challenge
Welcome to CAS Stencil April challenge
and this month Barb is asking us to create and share CAS cards
using Embossing Pastes/Gels with our Stencils.
There are some helpful video links over on the CAS Stencil blog and we'd love to see you get
'paste-y' with your choice of medium and stencil and share your cards.
For this card I created a coloured textured stencil background to go under my vellum layer bearing my sentiment. I mixed textured paste on my plastic sheet with four shades of Distress Oxides - mustard seed, dried marigold, carved pumpkin and ripe persimmon... using a palette knife I scraped the different shades over my flourish stencil onto white cardstock and left it to air dry....
I cut down the panel and cut a frame in white card. Then gold embossed my sentiment on vellum and attached that the to back of the frame. I used foam sheet under the frame to give it a lift and raise the vellum off the stenciled panel.
Close up view of the softening effect with the vellum overlay.
Tuesday, 19 March 2019
Live full the Life you have imagined
After my experiment for my CAS Stencil March challenge mid month card, I tried out some more 'ghosting' using the misted stencil. For this card I cut a panel the size of my stencil and blended Distress Oxides - Tattered Rose and Aged Mahogany. Then lightly misted my stencil and carefully placed it upside down onto the panel and let it sit for 15 seconds (about- I never timed it) removed it and then let it dry....I'm really pleased with the result. Trimmed it slightly and attached with a foam underlay to a white card. To finish I used a stamped sentiment from my stash and layered it on matching card.
Thanks for visiting, I really appreciate it.... happy stenciling.
Tuesday, 19 February 2019
All you need is Love
Today I have another card and a reminder for the
you have until Feb 24 to have a bit of fun with your stencils and join in.
For my stenciled panel I simply placed my heart stencil over white card and carefully sprinkled on Magical Micas in Peony Scarlet and Bells of Ireland.. and lightly spritzed with water... the colours are so sparkly (hard to capture in a photo). I trimmed off a strip from the larger panel, dry embossed a white background panel with mini hearts and finished with a stamped sentiment in grey ink.
Of course I couldn't resist making a reverse panel..... so once I removed the stencil with the damp powdered ink on it I carefully placed a panel of white card on top and pressed down lightly with my hands. I've been a bit distracted this last few weeks with our flooding and clean up so haven't managed to make any cards with these pieces.... yet!
Thanks for visiting, I really appreciate it
and if you have a moment pop over to the CAS Stencil blog and check out the DT cards...
lots of fabulous inspiration
Subscribe to:
Posts (Atom)